


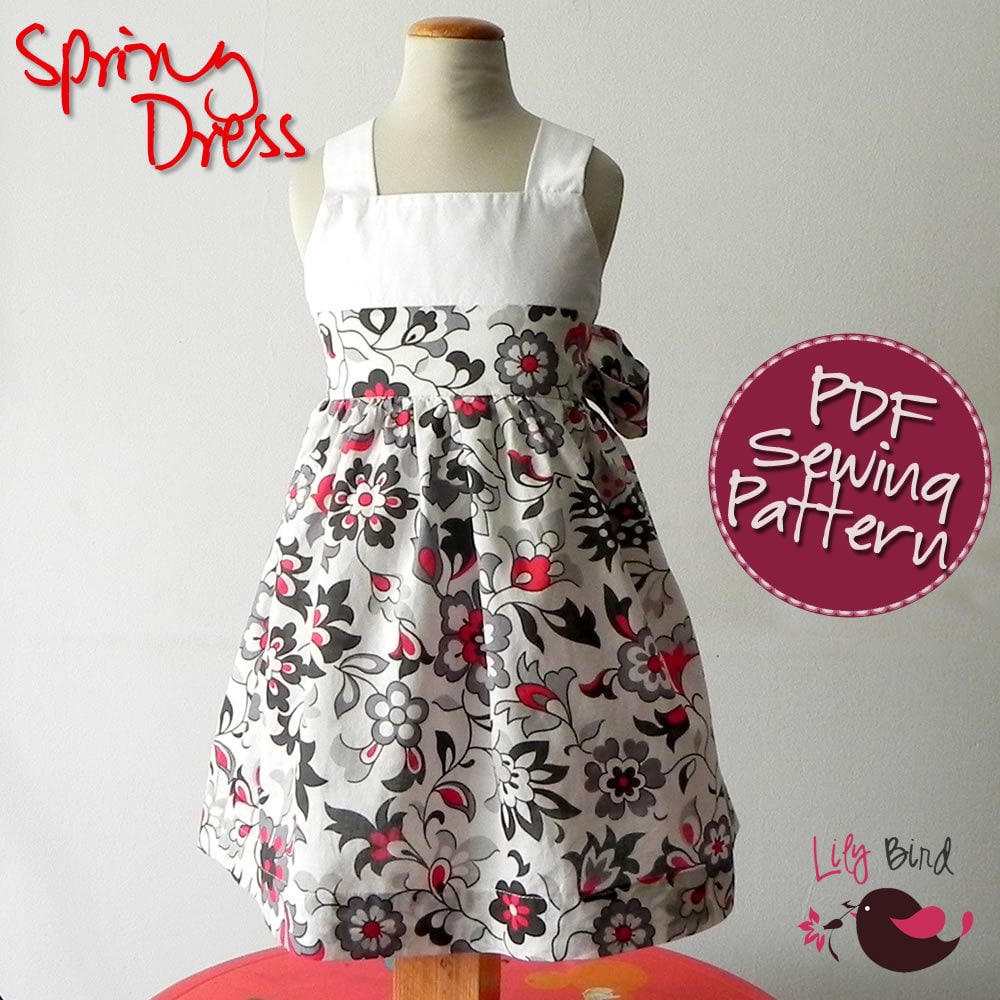

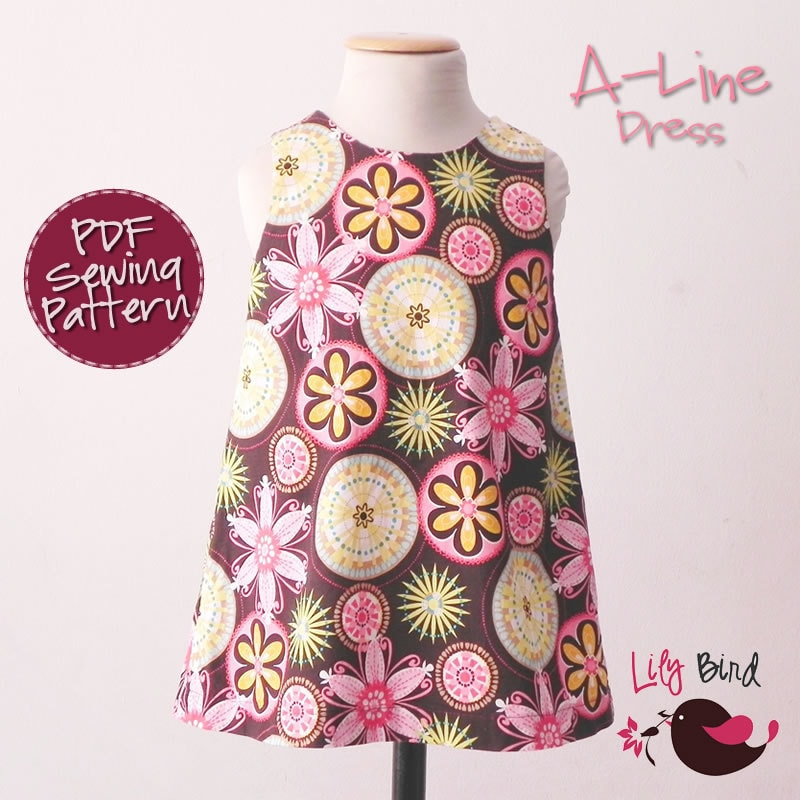


Este tutorial explica los pasos para convertir una tela blanca lisa en una tela con diseño, en este caso lunares.
Materiales:
- tela
- etiquetas (circulos)
- pintura de tela
- botella con aplicador en spray
1- Pegar las etiquetas sobre el lado derecho de la tela. Pueden colocarse en cualquier orden o formando un diseño en particular...

... para obtener algo así.

2- Extender la tela sobre una superficie lisa.

3- Preparar la pintura de tela en la botella con aplicador en spray. Mezclar la pintura y agua en partes iguales.

4- Aplicar la pintura con el spray de manera uniforme...
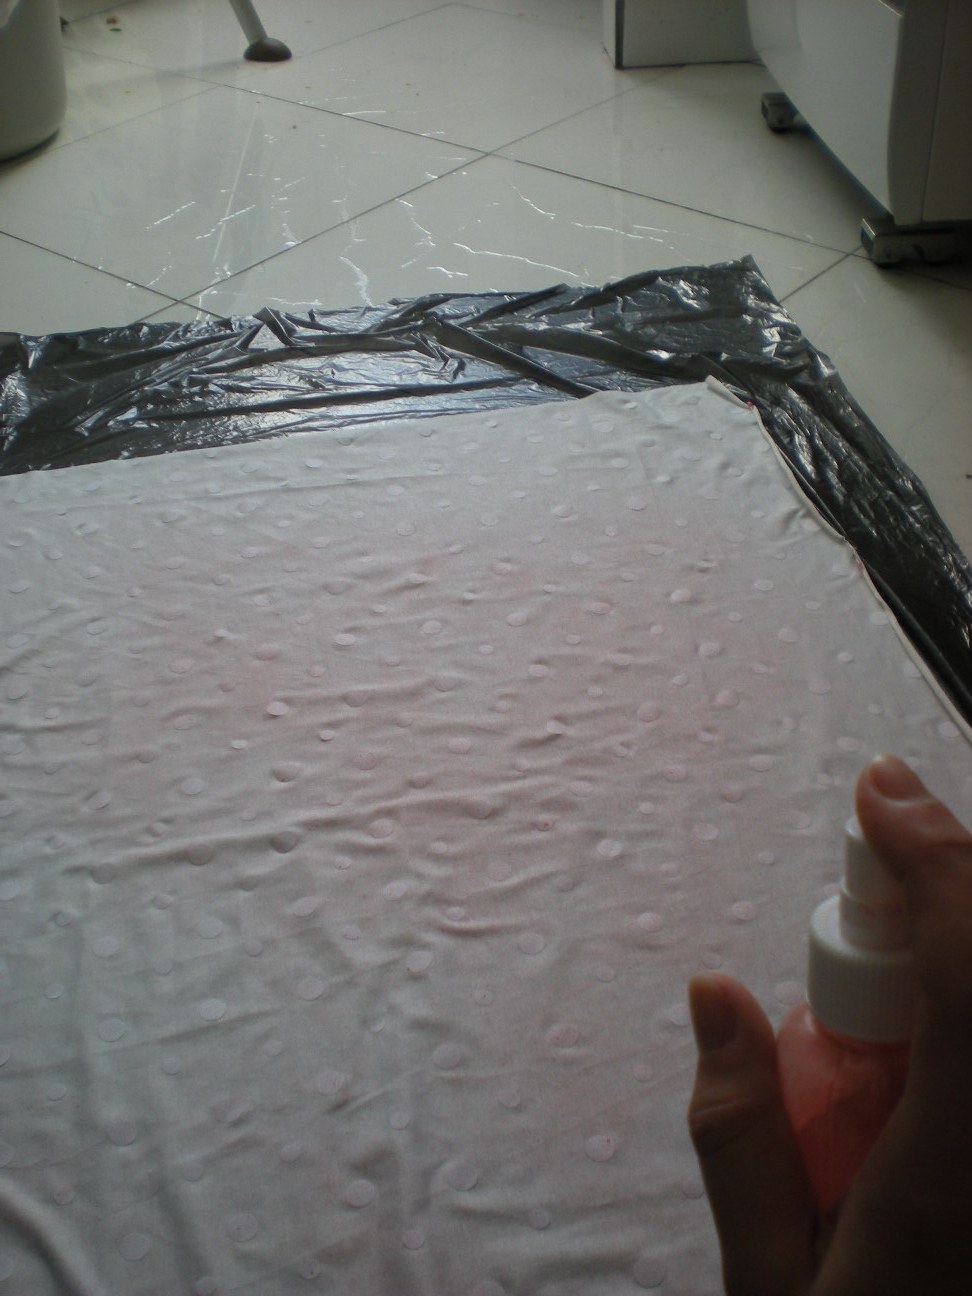
... dejar secar y repetir el proceso cuantas veces sean necesario hasta lograr el color deseado.
Importante: no aplicar mucha pintura de una sola vez porque puede pasar por debajo de las etiquetas y manchar el diseño.

5- Y finalmente... una tela a lunares hecha a mano!

This tutorial explains the steps to convert a plain white (or other color) fabric into one with a design, in this case polka dots.
Materiales:
- fabric
- labels (circles)
- fabric paint
- spray bottle
1- Stick the labels on the right side of the fabric. You can stick them in any oder or making a particular design...

... to get something like this.

2- Spread the fabric on an even surface.

3- Prepare the fabric paint in the spray bottle. Mix equal quantities of fabric paint and water. Shake well to mix.

4- Apply the paint uniformly all over the fabric...

... let it dry and repeat te process as many times as you need to get the desired color.
Important: do not apply lots of paint at one time or it may go under the labels and ruin the design.

5- And finaly... a handmade polka dot fabric!

Materiales:
- fabric
- labels (circles)
- fabric paint
- spray bottle
1- Stick the labels on the right side of the fabric. You can stick them in any oder or making a particular design...
... to get something like this.
2- Spread the fabric on an even surface.
3- Prepare the fabric paint in the spray bottle. Mix equal quantities of fabric paint and water. Shake well to mix.
4- Apply the paint uniformly all over the fabric...
... let it dry and repeat te process as many times as you need to get the desired color.
Important: do not apply lots of paint at one time or it may go under the labels and ruin the design.
5- And finaly... a handmade polka dot fabric!
Este tutorial explica os passos para converter um tecido branco liso em um tecido com desenho, neste caso de bolinhas.
Materiais:
- tecido
- etiquetas (bolinhas)
- tinta para tecido
- garrafa com bico aplicador em spray
1- Grudar as etiquetas sobre o lado direito do tecido. Você pode colocar elas de cualquier jeito ou fazer um desenho particular...
... atê obter algo assim.
2- Estender o tecido sobre uma superfície lisa.
3- Preparar a tinta para tecido numa botella de spray. Misturar a tinta com agua em partes iguais.
4- Aplicar a tinta com o spray de maneira uniforme...
... deixar secar e repetir o processo quantas veces sejan necessárias até lograr o color desejado.
Importante: não aplicar muita tinta de uma vez só porque pode passar por debaixo de as etiquetas e manchar o desenho.
5- E finalmente... um tecido de bolinhas!


No hay comentarios:
Publicar un comentario