


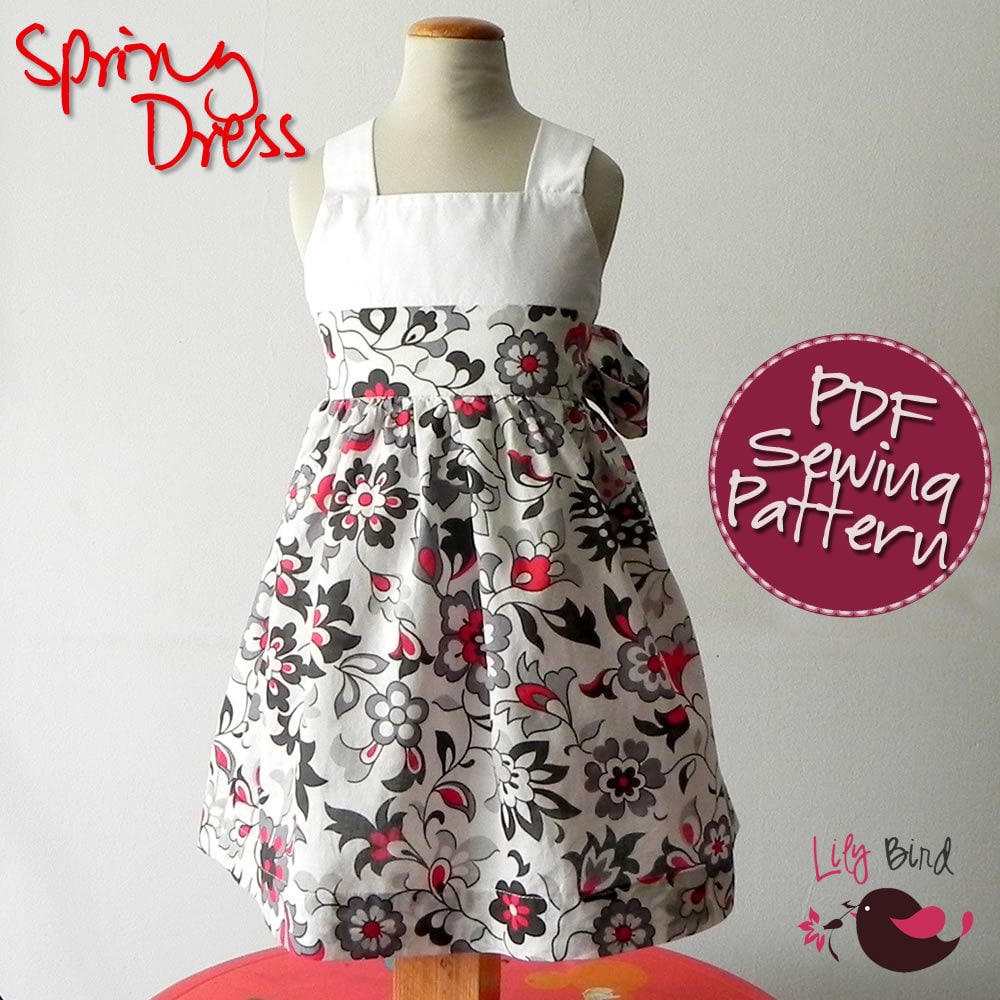


So I decided I would make a tutorial for that and share on this blog. If you already purchased this pattern or just want to get the instructions in pdf format you can download from here.
For those getting the pattern from now on, the instructions will be included in the package.
YOU'LL NEED:
- ¼ yard of fabric: corduroy, woven cotton, flannel,
light weight denim or any other light to medium weight fabric. You can use the
same or different prints.
- thread of matching color
- rotary cutter or scissors
- pins
- sewing machine
For rolled hem cut 3 pieces of fabric 2 inches
high and 24 inches wide.
INSTRUCTIONS:
Before starting make sure you are ready with the
back pieces of the overalls, meaning steps #25 and #26 of the main tutorial are
complete.
1. Roll hem the top and bottom edge of all the
pieces for the ruffles.
a.
Rolled hem with
serger:
i.
first unthread
and remove the left needle of your serger.
ii.
Retract the
knife blade.
iii.
Set the stitch
width and length to “R”.
iv.
Take a piece
of fabric and make a quick rolled hem to check the settings. Make sure that the
fabric folds towards the wrong side. You might also need to adjust the lower
and upper loopers tension (increase lower looper tension and decrease the upper
looper tension).
v.
Hem along the
bottom edge of the sleeve.
This is a general guide. Check the user manual of your sewing machine
for more information on the settings for your particular sewing machine.

b.
Rolled hem
with regular sewing machine:
i.
Fold the edge
of the fabric 1/8 to 1/4 inch (or as little as you can) towards the wrong side
and press. Sew as close to the folded edge as you can.

ii.
Use a pair of
scissors to trim the excess of fabric.


iii.
Fold the edge towards
the wrong side again about 1/8 inch or as little as you can. Press. Sew along
the edge.


2. Set your sewing machine to a long loose stitch
and baste 2 rows of stitches along the top edge of the strip. The first row ½
inch from the top edge, and the second row ¼ inch from the first row. Leave 3
inches of thread on each side.

3. Gently pull one of the threads on each side to
gather the fabric until it reaches the width of the back pieces of the pants
plus 1 extra inch.

4. Set your sewing machine back to a regular stitch.
5. Lay the ruffle over the back pieces of the
overalls, about ¾ inch from the corner. Draw a slightly curved line with the
ruffle, as shown by the black line in the picture. Pin to secure in place.

6. Sew 1 row of stitches right in the middle of the
2 rows that you previously sew on step #2, to attach the ruffle to the back
pieces of the overalls.


7. Remove the 2 rows of baste stitch made on step #2.
8. Repeat steps #5 to #7 for each layer of ruffles.
Leave 3/4 inch distance between each layer of ruffles.


Second
layer

Third layer

9. Then proceed to step #36 of the main tutorial.
Then sew the back flaps to the back pieces of the overalls and layers of
ruffles included.


And here some picture of the finished overalls. I don't have a gorgeous little baby of my own to take picture so here are a few pictures of my daughter's doll wearing it :)


Do you want to sew this overalls? Get the pattern HERE!


No hay comentarios:
Publicar un comentario